How to Program Your Garage Door Remote: A Guide by Pablo & Bill Garage Door Repair

How to Program Your Garage Door Remote: A Step-by-Step Guide
Programming your garage door remote can seem daunting, but it doesn’t have to be! In this guide, we will walk you through the process step-by-step, ensuring that your remote operates perfectly. Whether you need to reprogram your existing remote or set up a new one, we have you covered. At Pablo & Bill Garage Door Repair in Renton, WA, we believe it's essential for every homeowner to feel empowered with their garage door systems.
Why You Might Need to Program Your Garage Door Remote
There are several reasons you might find yourself needing to program your garage door remote:
- New Remote: You’ve purchased a new remote and need to pair it with your garage door opener.
- Battery Replacement: Changing the batteries in your remote can sometimes reset the programming.
- Security Reasons: If you suspect your remote has been compromised, it's a good idea to reprogram it.
- Repair or Installation: After a garage door repair or installation, you may need to reprogram your remote.
Understanding Your Garage Door System
Before diving into the programming process, it's crucial to understand the components of your garage door system:
Components to Familiarize Yourself With
- Garage Door Opener: This is the motorized device that opens and closes your garage door.
- Remote Control: The handheld device that sends signals to the garage door opener.
- Wall Console: Usually installed inside your garage, this is another way to control the door.
How to Program Your Garage Door Remote
Step-by-Step Instructions
Each garage door opener may have slightly different programming methods, but here are the general steps you’ll follow:
- Identify the Programming Button: Locate the “Learn” or “Program” button on your garage door opener. This button is typically found on the back or side of the unit.
- Press the Learn Button: Press and hold the learn button until the indicator light turns on, then release it.
- Prepare Your Remote: Take your remote and press the button you want to program. Hold it down until you see the indicator light on the garage door opener blink, then turn off.
- Test the Remote: After programming, test your remote to ensure it works properly. If it does, you’re all set! If not, repeat the steps.
Common Issues and Troubleshooting
If you’re having trouble programming your remote, consider these common issues:
- The remote batteries are dead.
- You are not within range of the garage door opener.
- The programming button on the opener is malfunctioning.
- The remote is incompatible with your garage door system.
Safety Precautions When Programming Your Garage Door Remote
Safety should always be your top priority. Here are some essential tips:
- Keep children and pets away from the garage door while programming.
- Ensure your garage door is not obstructed and operates smoothly.
- Never try to program your remote while standing directly under the garage door.
Additional Features to Consider
Modern garage door remotes come with various features. Here are some that might interest you:
- Rolling Codes: This technology enhances security by changing the code each time you use your remote.
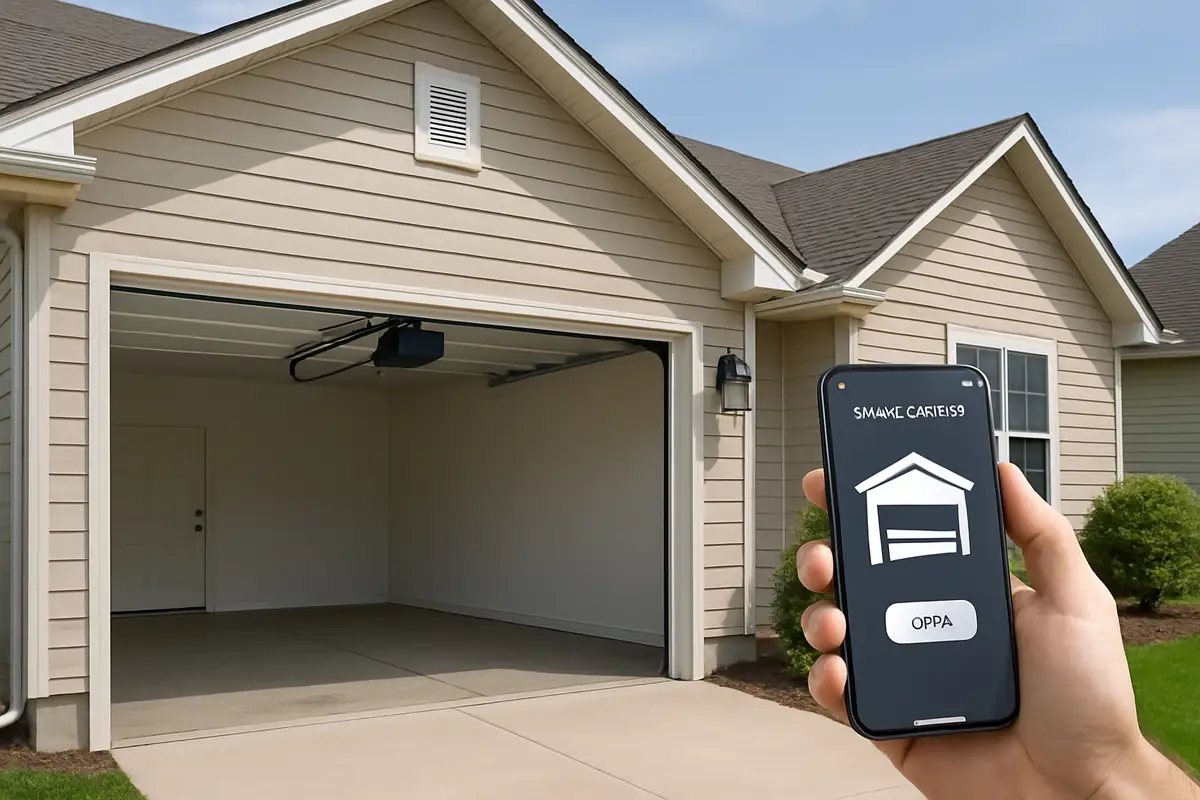
- Smart Features: Some remotes can connect to your smartphone for remote access and monitoring.
- Multi-Button Functionality: Some remotes allow you to control multiple garage doors with one device.
The Importance of Regular Maintenance
Regular maintenance can help prevent issues with your garage door remote:
- Check the batteries in your remote every six months.
- Ensure the garage door opener is clean and free of dust.
- Schedule professional inspections at least once a year.
Conclusion
Programming your garage door remote doesn’t have to be a hassle when you follow these steps. At Pablo & Bill Garage Door Repair in Renton, WA, we’re here to help with all your garage door needs, whether it be programming, repairs, or maintenance. If you encounter any issues, don’t hesitate to contact us! Our team of experts is ready to assist you in ensuring your garage door operates smoothly and securely.
Explore More Resources
Related Articles
Service Areas
We proudly serve Renton, Maplewood, Maplewood Heights, Benson Hill, Kennydale and more areas.
Our Services
Professional garage door repair, spring repair, opener installation and more. View all services →

The Benefits of Insulated Garage Doors for Your Home in Renton, WA

Garage Door Installation: What to Expect from Pablo & Bill Garage Door Repair in Renton, WA